[Day 27] Kotlin + Spring Boot
今天終於要開始進入 Kotlin 運用在 Spring Boot 上啦~
我主要是針對已經會使用 Java 開發 Spring Boot 的前提下,著重在改用 Kotlin 撰寫 Spring Boot 的一些差異點上面來解說。
主要是參考官方這篇文章
https://spring.io/guides/tutorials/spring-boot-kotlin/
因為我發現網路上還蠻多非官方的文章,跟這篇寫的方式和用法都有點出入,所以我還是以官方的 Best Practice 為主。
產生專案
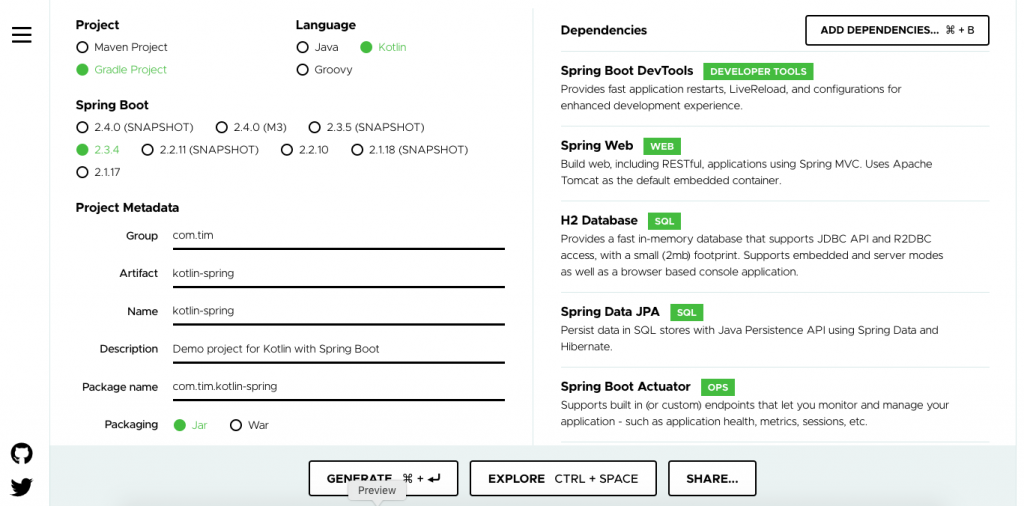
首先到 https://start.spring.io/ 選擇這次 demo 需要產生的 spring boot 專案
Project & Language & Java Version
- 語言選擇 Kotlin
- Gradle Project
- Java Version - 11
Dependencies
-
Spring Boot DevTools- 提供 server 重啟 LiveReload 功能,server 啟動的時候,有更改程式的話,按下 build 會自動幫你重啟 server -
Spring Web- 提供 MVC 或 RESTful API , 預設自帶 Tomcat server -
H2 Database- 記憶體資料庫,如此可以不用真正的 DB 來做 demo -
Spring Data JPA- Spring Data JPA ORM 框架的提供 -
Spring Boot Actuator- 提供 endpoints (端點)方便監控和管理,像是 server 健康,效能等等,這裡我主要用來方便打 RESTful API 的 endpoints。 -
JDBC API- 可能會用到複雜的 native SQL,所以我也有加入
當然也可以使用 IntelliJ IDEA 內建的工具產生,這裡不在多解釋。
下載後,解壓縮開來,使用 IntelliJ IDEA 匯入專案,File → Open → 選擇剛剛解開的資料夾
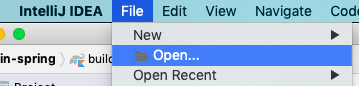

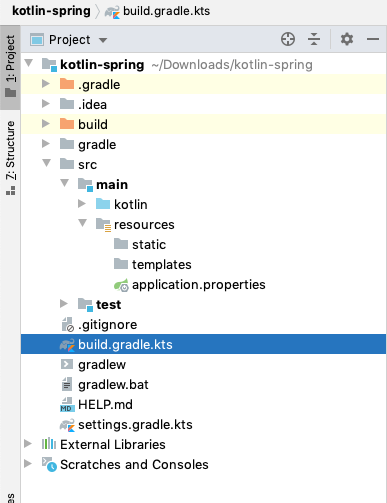
打開後就會看到專案啦
使用 Gradle 建構
接著可以先打開 build.gradle.kts 這個檔案,這個就是 Kotlin 版的 gradle 設定檔。
在 Java 開發的時候,通常都使用 Maven 來開發 Spring Boot,所以這次用 Kotlin 開發的話,我就改成嘗試使用 Gradle 來開發!
plugins
在build.gradle.kts 的 plugins 可以看到使用了這些 plugins
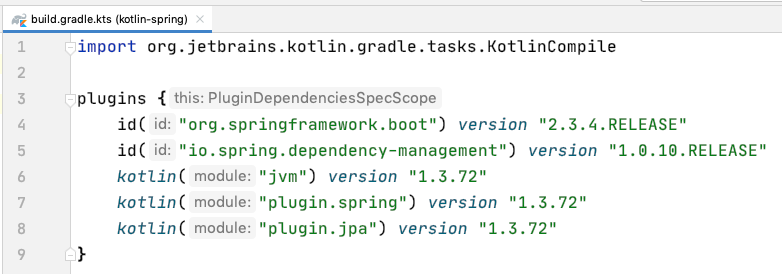
官方特別提到以下幾個 plugin,這些 plugin 針對 Kotlin 做了一些整合上的處理
kotlin-spring plugin
kotlin("plugin.spring") version "1.3.72"
kotlin-spring plugin (Spring 版本的 All-open compiler plugin 包裝) 會自動幫我們把 class 和方法都預設打開成 open,因為在 Kotlin 中 class 和方法預設都是 final,而 Spring AOP 都是透過 AOP 自動代理 (CGLIB 或是 JDK 動態代理)達成的,使用 Spring AOP 的 class 或方法必須是 open 的才能作用。
標註 @Component、 @Async、 @Transactional、 @Cacheable、 @SpringBootTest 、 @Configuration、 @Controller、 @RestController、 @Service 或者 @Repository 的這些類別會自動變成 open。
Kotlin JPA plugin
kotlin("plugin.jpa") version "1.3.72"
Kotlin JPA plugin (Spring 版本的 No-arg compiler plugin 包裝),因為 JPA 再從資料庫撈取資料時,在初始化物件的時候都需要有一個 無參數的 constructor (No-arg constructor) ,所以為了方便這個 plugin 會再有標註 @Entity、 @Embeddable 或 @MappedSuperclass 的 class 中產生一個無參數的 constructor。
可以參考這篇
https://stackoverflow.com/questions/32038177/kotlin-with-jpa-default-constructor-hell
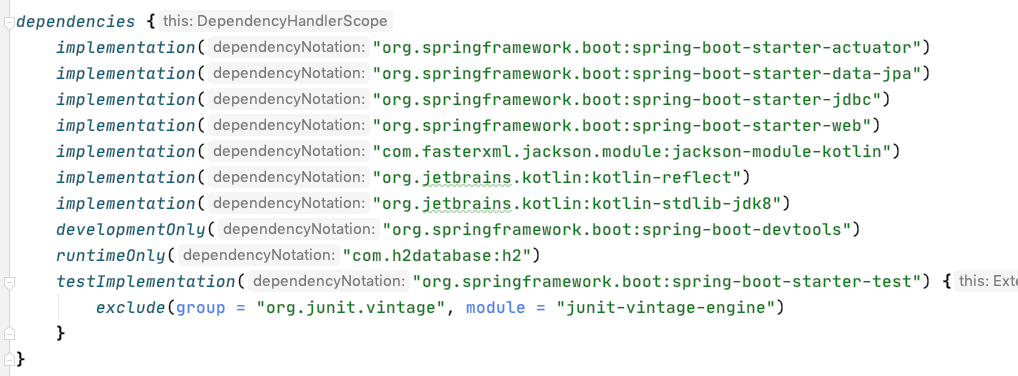
dependencies
這裡除了我們一開始在 https://start.spring.io/ 選的依賴之外還多了一些預設的依賴
-
kotlin-stdlib-jdk8- 基於 Java 8 的 Kotlin 標準函式庫 -
kotlin-reflect- Kotlin reflection library -
jackson-module-kotlin- 支援 Kotlin classes 和 data classes 的序列反序列化
Compiler options
這裡主要是在說,因為 Kotlin 的特色是 null-safety,但 Java 或 Spring API 本身語言特色並不是 null-safety,所以會透過一些 annotation 來做到 null-safety 這件事,那在 Kotlin 也支持 JSR 305 annotations + Spring nullability annotations ,這些 annotation 可以讓我們在使用 Spring Framework API 時提供良好的 null-safety。
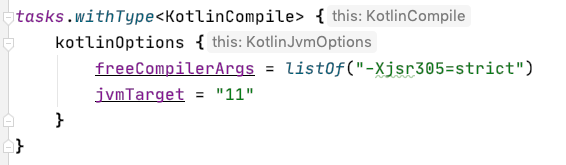
https://kotlinlang.org/docs/reference/java-interop.html#jsr-305-support
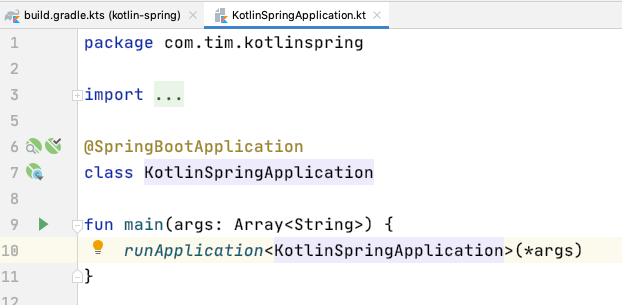
使 SpringApplication.run 更加的 Kotlin idiomatic
來看到 KotlinSpringApplication.kt 這個 springboot 的程式起始點,會發現語法跟以前好像不大一樣
深入原始碼一探究竟後,發現骨子裡其實還是原本的 SpringApplication.run(),還使用了 inline 和 reified 代表泛型型態在 runtime 時不會被擦除
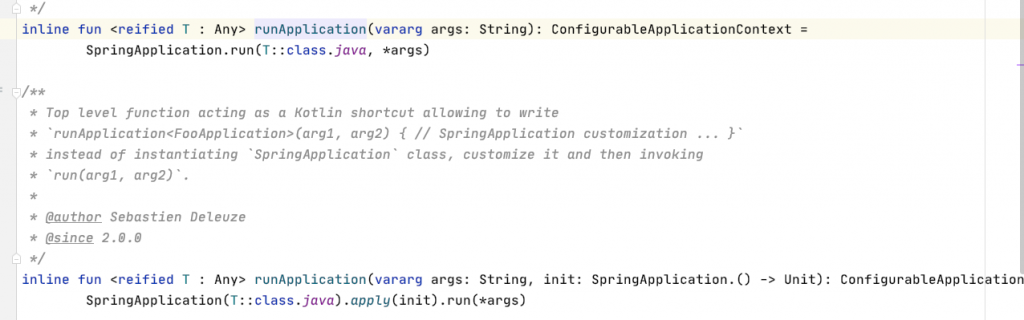
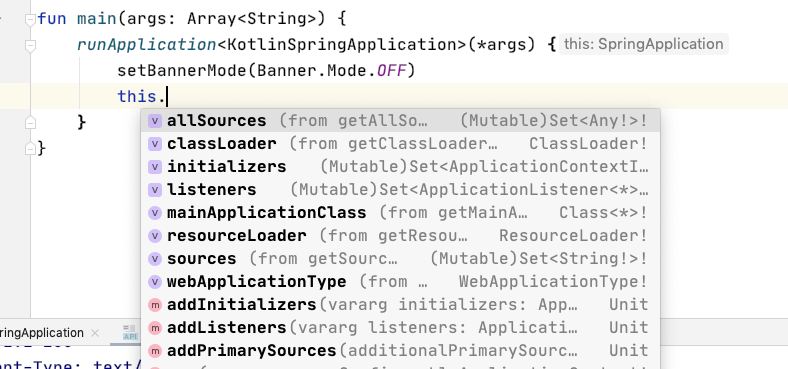
仔細觀察下面還多了一個方法,可以傳入一個 init function
這樣使得整個寫法更加的 Kotlin,所以在傳入的 lambda function 內就會有一個 this 也就是 SpringApplication 這個物件,這裡做了 setBannerMode(Banner.Mode.OFF) 讓執行 server 的時候,不要顯示大大的 Spring 圖案。
啟動專案
探索了一些內容後,來到右方區域,重整一下 Gradle 專案
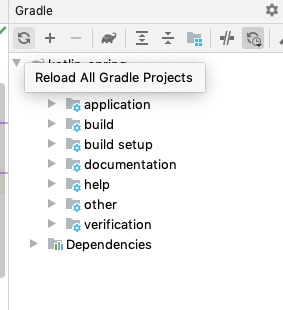
按下右上角的執行綠色按鈕

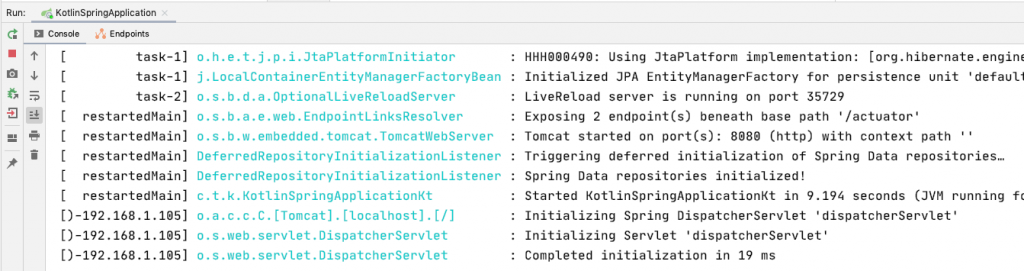
會在 console 看到, Spring boot 在 8080 port 成功啟動了!
第一個 RESTful API
新建一個 package controllers 和 class HelloController

這裡定義一個 RestController, 和一個 get 方法 /api/hello,這樣第一個 RESTFul API 就完成啦!
import org.springframework.web.bind.annotation.RequestMapping
import org.springframework.web.bind.annotation.RestController

@RestController
@RequestMapping("/api")
class HelloController {
    @GetMapping("/hello")
    fun hello() = "hello kotlin with spring"
}
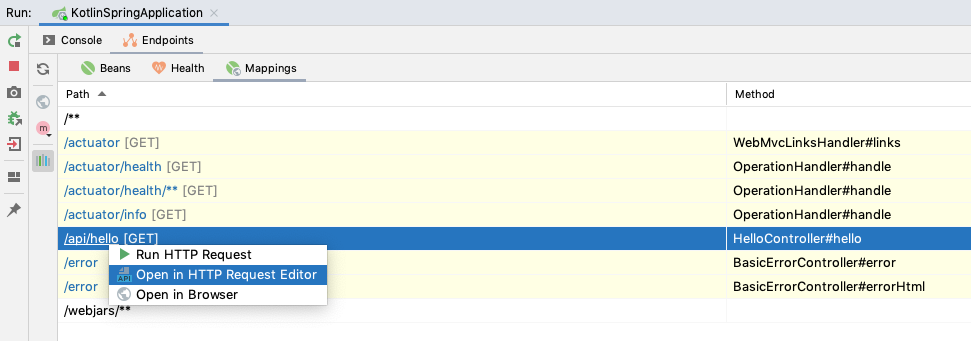
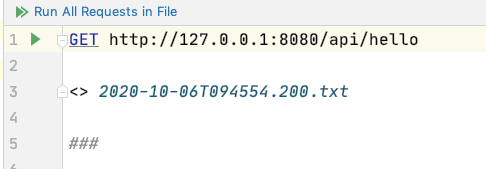
重新啟動後,來測試一下,因為我有加入 Spring Boot Actuator 所以可以很方便的直接在 Endpoints 找到剛剛的 /api/hello 給他打下去...,按下 Open in HTTP Request Editor
會出現這個,按下綠色執行按鈕
看到執行結果啦!
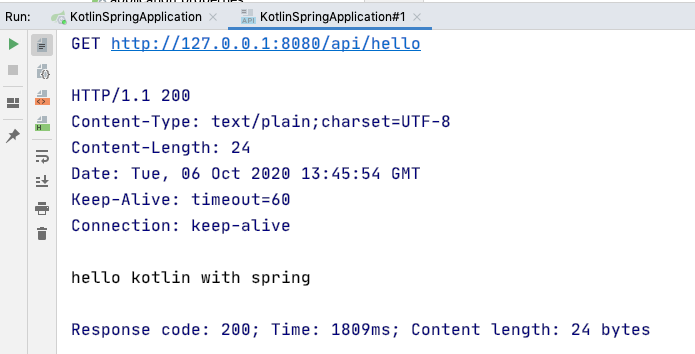
以上就是第一個 Kotlin Spring Boot 的初體驗!
我們明天見!